Back to article
3348
ADAPTiQ system setup and deactivation
Find out how to turn on or turn off ADAPTiQ audio calibration. ADAPTiQ optimizes the sound of your system for the acoustics of your room. The contents of your room (i.e. surfaces, furniture, rugs, etc.) impact how sound is heard in the room. The calibration process measures the properties of your room and adjusts the sound of your system accordingly. If you re-arrange your room or move your system to a different room, re-calibrate your system.
To run the ADAPTiQ audio calibration:
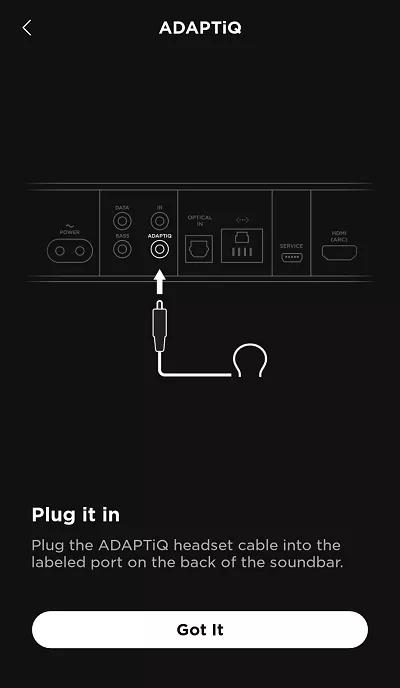
- On the back of the soundbar, connect the ADAPTiQ headset to the ADAPTiQ jack
- Place the headset on your head
- On the remote control, press the SoundTouch button
- Press and hold the 8 button until the TV and Bluetooth® lights on the soundbar glow green
Tip: Press the up and down arrow buttons to select languages. To return to the default language, press and hold the 8 button for 10 seconds - Follow the voice prompts to calibrate your system
- When complete, unplug the headset from the soundbar and store it in a safe place.
To run ADAPTiQ audio calibration:
Note: If you add the accessory bass module or surround speakers to your soundbar at a later time, run ADAPTiQ again to calibrate the system and accessories as well.
- In the Bose app
, tap the Audio button. If this button is not shown, tap the product control icon
in the lower-left corner.
Tip: If you have more than one Bose smart speaker, tap the My Bose iconin upper-left corner then select the product to be adjusted.
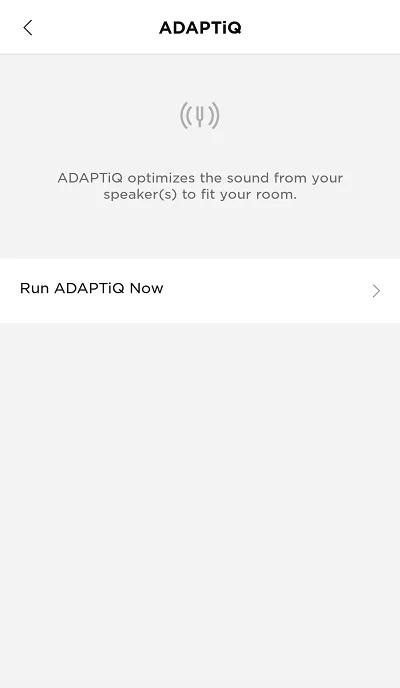
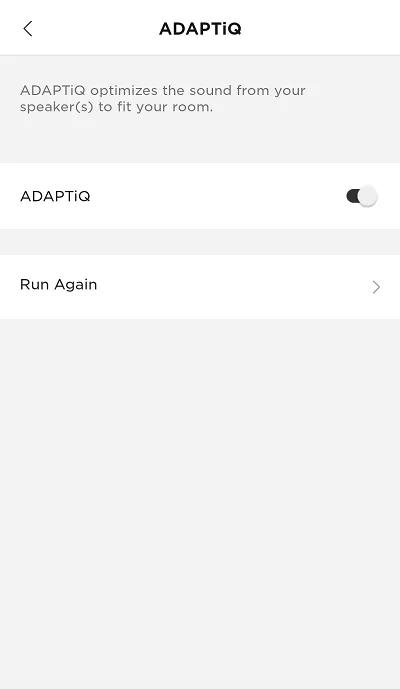
- Select ADAPTiQ.
- Select Run ADAPTiQ Now.
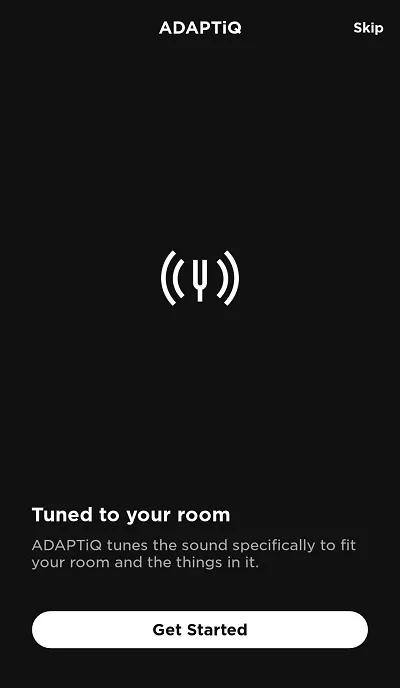
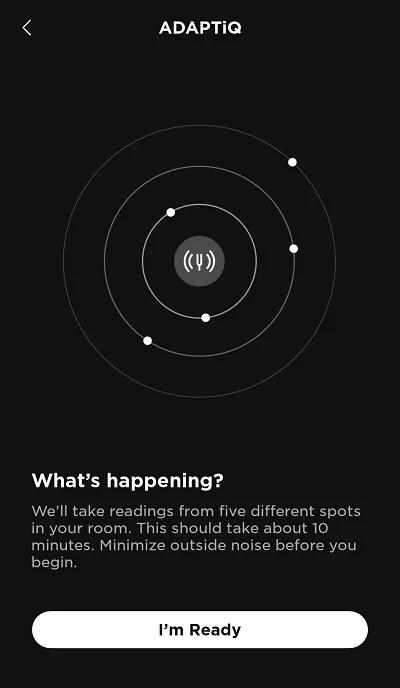
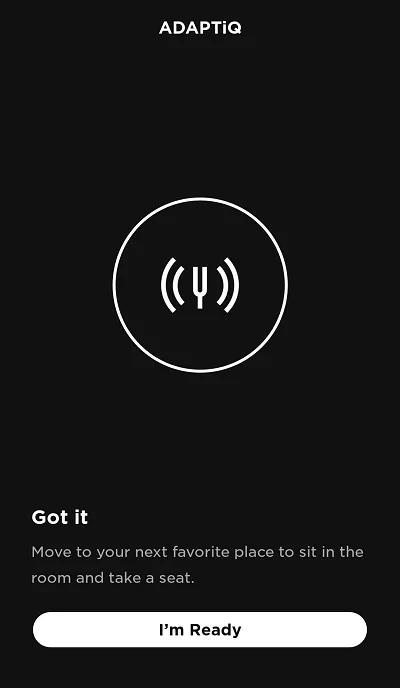
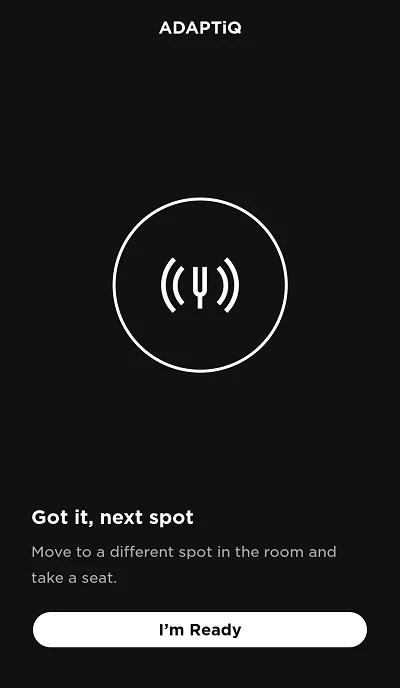
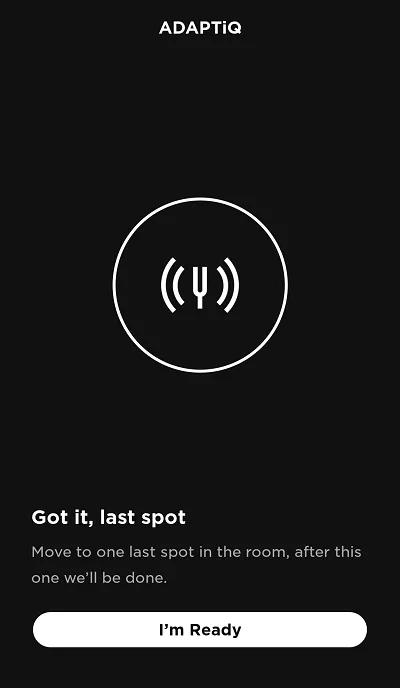
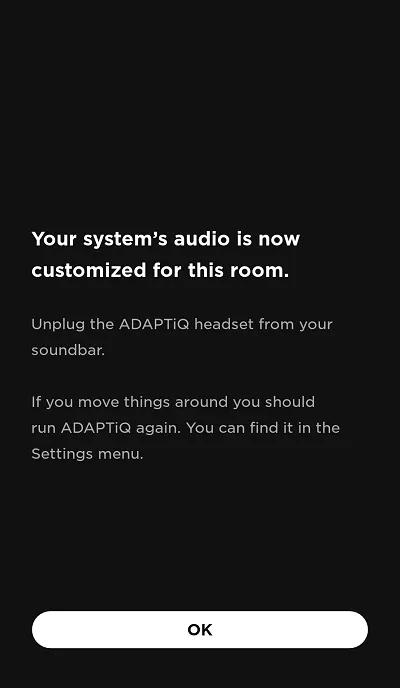
- Follow the app instructions. The following screens appear:
Was this article helpful?
Thank you for your feedback!


